Monday, November 23, 2020

MacBook Air (Early 2020): Final Results for macOS Big Sur

There have been some major software updates to macOS and benchmarking software, so I thought I'd update the benchmark results. As before, my MacBook Air has the combined wind channel + heat sink + heat pad modifications, and I ran the tests in Intel Power Gadget 3.6.0Geekbench 5.3.1, and Cinebench R23. I used the same set up as before, but also waited for the CPU to cool down to around 40℃ before running the next benchmark. Each benchmark was executed at least three times and I report the average.

When I run the stress tests in Intel Power Gadget, it seems that the max sustained frequency is 100MHz lower than before, but the CPU temperature plateaus at about 80ÂșC. I guess Big Sur is throttling the CPU even more?


Intel Power Gadget 3.6.0


Test TypeResult (GHz)
CPU (All Thread Frequency, Scalar)2.70
CPU (All Thread Frequency, AVX-256)2.60
CPU (All Thread Frequency, AVX-512)2.40
Intel Graphics Test (Max Frequency)1.00

Geekbench 5.3.1

Test TypeResults (Points)
CPU (Single-core)1,253​
CPU (Multi-core)3,974​
Compute (OpenCL)9,034
Compute (Metal)10,383

Cinebench R23

Test TypeResults (Points)
CPU (Single-core)1,051
CPU (Multi-core)3,089
MP Ratio2.94

Wednesday, June 3, 2020

MacBook Air (Early 2020): Final Results for macOS Catalina

MacBook Air (early 2020) configuration: i7/16GB/1TB

Date of original mod: 3 June 2020
MacRumors: Post 1,675

I did my final mod by replacing the homemade tinfoil thermal pad with an EC360 GOLD (thermal conductance of 14.5W/mK). Other modders on MacRumors seem to have been able to get good (better?) performance with thermal pads of lower conductance. The thickness is 1.5mm -- it is thicker than necessary for the area near the edge of the case, but a good fit closer to the battery.


The thermal pad wasn't long enough so I used the off-cut to cover the right edge. I peeled the blue protective sheet prior to putting the back cover back on. For fun, I created a heat spreader from a disposable tin tray that sits between the fan and on top of the thermal pad. I coloured it black for some extra black-body radiation. I have no idea how helpful or detrimental it is!


Results

To evaluate the success of the combined wind channel + heat sink + heat pad modifications, I ran the tests in Intel Power Gadget 3.7.0Geekbench 5.1.1Cinebench R20Unigine Heaven 4.0, and Unigine Valley 1.0. I used the same set up as before, but also waited for the CPU to cool down to around 40℃ before running the next benchmark. Each benchmark was executed at least three times and I report the average.

Intel Power Gadget 3.7.0


Test Type Original (GHz) Mod (GHz) Improvement
CPU (All Thread Frequency, Scalar) 2.25 2.80​ 24.4%
CPU (All Thread Frequency, AVX-256) 2.12 2.70 27.4%
CPU (All Thread Frequency, AVX-512) 2.00 2.50 25.0%
Intel Graphics Test (Max Frequency) 0.90 1.10​ 22.2%

Geekbench 5

Test Type Original (Points) Mod (Points) Improvement
CPU (Single-core) 1,214​ 1,288 6.2%
CPU (Multi-core) 2,992​ 4,043 35.1%
Compute (OpenCL) 3,825 8,931 133.5%
Compute (Metal) 4,285 10,461 144.1%

Cinebench R20

Test Type Original (Points) Mod (Points) Improvement
CPU (Single-core) 353 423 19.6%
CPU (Multi-core) 979 1,218 24.5%
MP Ratio 2.77 2.88 4.1%

Unigine Heaven 4.0

Test Type Wind + heat sink mod
(Points / FPS)
Wind + heat sink + pad mod
(Points / FPS)
Improvement
Custom/Medium 714 / 28.4 764 / 30.4 7.0%
Custom/Ultra NA 613 / 24.4 NA

Unigine Valley 1.0

Test Type Wind + heat sink + pad mod
(Points / FPS)
Custom/Medium 1,226 / 29.3
Custom/Ultra 940 / 22.3

Monday, May 18, 2020

MacBook Air (Early 2020): Heat Pad Mod

MacBook Air (early 2020) configuration: i7/16GB/1TB

TL;DR: The combined modification of the wind channel, heat sink, and heat pad is reaching Apple's/Intel's hardcoded performance limits. Thermal dissipation of combined CPU and GPU load is still restricted.

Date of original mod: 17 May 2020
MacRumors: Post 1,254

Heat Pad Modification

The "corrugated" heat sink design for the MacBook Air quad-core processors allows air to go through the heat sink. The foam pad that is stuck to the bottom case seems to be there to stop air from going over the heat sink; unless it's simply there to prevent the bottom case from getting too hot. The heat pad modification is three-fold: completely seal off the space above the heat sink, increase the thermal mass of the heat sink, and improve the thermal conductivity from the heat sink to the bottom case.

I've always tried to go for low-cost reversible mods, and this one is no different. I took some tin foil and folded it multiple times to get something that was about 1 mm thick and roughly in the shape of the heat sink. I protected the edges with some clear tape and placed it on top of the heat sink.


Results

To evaluate the success of the combined wind channel + heat sink + heat pad modifications, I ran the tests in Intel Power Gadget 3.7.0, Geekbench 5.1.0Cinebench R20, and Unigine Heaven 4.0. I used the same set up as before, but also waited for the CPU to cool down to around 40℃ before running the next benchmark. Each benchmark was executed at least three times and I report the average.

Intel Power Gadget 3.7.0

For the CPU stress test, it stays on max turbo boost for a bit longer before dropping down. Temperatures also rise more slowly and take much longer to reach the 90℃ range. GPU temperatures are also cooler by a considerable amount. I'm quite happy with the thermal headroom. When both the CPU and GPU are stress tested together, there is about 10℃ of thermal headroom, but both seem to have been held back by some hardcoded limit.
After a 15 min stress test using Intel Power Gadget, the bottom of the case felt subjectively hotter, but the temperatures around the case were actually one or two degrees cooler than before (i.e., just the wind channel and heat sink mod).

Geekbench 5

Compared to the wind channel and heat sink mod, single-core performance was marginally worse (-1.7%), and multi-core performance was better (+7%). However, graphics performance was about twice as good, although this increase does seem too good to be true and could be a Geekbench glitch on the three consecutive runs (?). Click on a "Mod" result to view the best that I got.

Test Type Original (Points) Mod (Points) Improvement
CPU (Single-core) 1,214​ 1,256 3.5%
CPU (Multi-core) 2,992​ 3,886 29.9%
Compute (OpenCL) 3,825 8,525 122.9%
Compute (Metal) 4,285 9,727 127.0%

(CPU test)

Cinebench R20

Compared to the wind channel and heat sink mod, performance was better for single-core (+3.5%) and multi-core (+6%). I do find it funny that Cinebench is a CPU-only benchmark, so I didn't get the high performance boost from the Compute results of Geekbench 5.

Test Type Original (Points) Mod (Points) Improvement
CPU (Single-core) 353 405 14.6%
CPU (Multi-core) 979 1,192 21.8%
MP Ratio 2.77 2.94 6.3%

Unigine Heaven 4.0

I used the default custom settings (medium quality). There was a slight improvement, probably because both the CPU and GPU are being loaded, so it's because of the hardcoded limit or both are competing for the same heat sink.

Test Type Wind + heat sink mod
(Points, FPS)
Wind + heat sink + pad mod
(Points, FPS)
Improvement
Custom/Medium 714 764 7.0%


Thursday, April 30, 2020

MacBook Air (Early 2020): Heat Sink Mod

MacBook Air (early 2020) configuration: i7/16GB/1TB

TL;DR: Filling the sub-millimetre gap between the heat sink and processor with a copper shim improves performance by up to 20%.

Date of original mod: 30 April 2020
MacRumors: Post 984Post 998, Post 1003

Visual Context

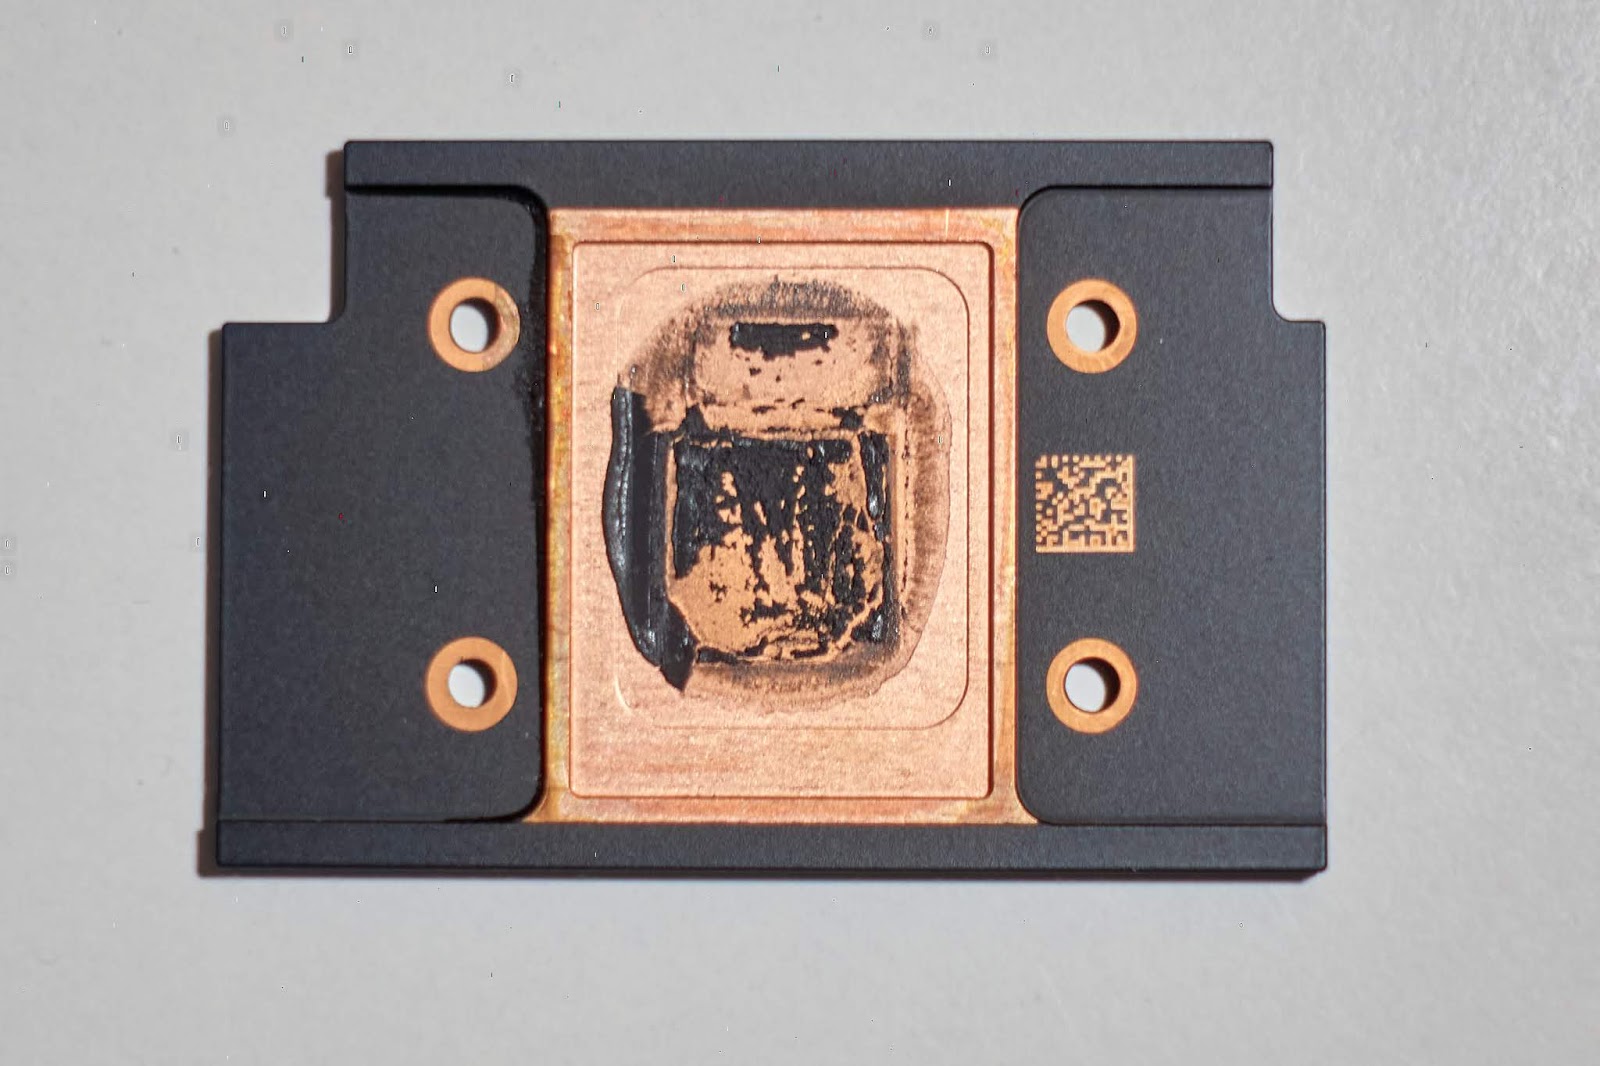
The photos below provide an overview of what we're dealing with. The heat sink is made of aluminium and the underside has a copper coating. A dark, thick, gritty thermal paste has been used.


Note: bottom case screws are Pentalobe 5 (P5) and heat sink screws are Torx 4 (T4).

After cleaning the thermal paste off the processor and heat sink with alcohol wipes, we can see more clearly a shallow cutout in the heat sink's underside, which contributes to the unnecessary gap between the processor and heat sink.


Below are rough measurements of the processor and heat sink, which will be useful for knowing how big of a copper shim to use.

The "2 cm" marking is aligned to the inner edge of the heatsink padding:

I should have aligned the "3 cm" marking to the inner edge of the heat sink padding:

The "2 cm" marking is aligned to the long edge of the cutout:

The "3 cm" marking is aligned to the short edge of the cutout:

The heat sink relative to a 15x15 mm copper shim:

Heat Sink Modification

To gauge how thick the shims needed to be, I prototyped some "shims" from paper of various thicknesses. I found that the thickness of a business card was quite good. Unfortunately, the shims I bought were 0.6 mm thick, so I had to spend a few hours slowly filing them down. In the end, they were still thicker than I needed, but at least thin enough for me to screw the heat sink down. The heat sink screws are incredibly small and the threaded ends are only around 2 mm in length.

I didn't have shims in the correct planar size, so I had to cut one of my 15x15 mm shims to get enough length. A width of 15 mm is enough to cover the CPU and GPU.


I spread a thin layer of Arctic MX-4 thermal paste onto the heat sink and "pasted" the shims on. This way, I know that the shims will be positioned properly when I lay the heat sink back onto the processor (with another layer of thermal paste).

Results

To evaluate the success of the combined wind channel and heat sink modifications, I ran the tests in Intel Power Gadget 3.7.0, Geekbench 5.1.0, and Cinebench R20. I used the same set up as before, but also waited for the CPU to cool down to around 42℃ before running the next benchmark. Each benchmark was executed at least three times and I report the average.

The first thing I noticed was that the CPU temperature was much less sensitive to changes in CPU load, which might mean that the fans switch between on/off less often. In the screenshots below, the temperature rises gradually, whereas before it would shoot up much steeper.
After a 15 min stress test using Intel Power Gadget, the temperatures around the case appear normal.

Geekbench 5

The single-core and graphics performance are only slightly better. I think it is because thermal throttling did not happen much for those tests with the original heat sink. Multi-core performance, however, is about 20% higher. Click on a "Mod" result to view the best that I got.

Test Type Original (Points) Mod (Points) Improvement
CPU (Single-core) 1,214​ 1,271 4.8%
CPU (Multi-core) 2,992​ 3,666 22.5%
Compute (OpenCL) 3,825 3,944 3.1%
Compute (Metal) 4,285 4,491 4.8%

Cinebench R20

Single-core and multi-core performance both improved by about the same amount, unlike the large performance improvement gap seen with Geekbench.

Test Type Original (Points) Mod (Points) Improvement
CPU (Single-core) 353 390 10.5%
CPU (Multi-core) 979 1,110 13.5%
MP Ratio 2.77 2.84 2.7%


Intel Power Gadget 3.7.0

Lastly, I did some plain-old stress tests, which show about 20% improvement in sustained CPU and GPU performance.

Test Type Original (GHz) Mod (GHz) Improvement
CPU (All Thread Frequency, Scalar) 2.25 2.70​ 20.0%
CPU (All Thread Frequency, AVX-256) 2.12 2.59​ 22.2%
CPU (All Thread Frequency, AVX-512) 2.00 2.40​ 20.0%
Intel Graphics Test (Max Frequency) 0.90 1.10​ 22.2%


I don't remember if my MacBook Air was originally able to sustain max Turbo Boost on a single core.

Wednesday, April 29, 2020

MacBook Air (Early 2020): Wind Channel Mod


MacBook Air (early 2020) configuration: i7/16GB/1TB

TL;DR: Sealing up the wind channel appears to only offer limited performance improvements.

Date of original mod: 29 April 2020
MacRumors: Post 966

Background

Soon after the 2020 MacBook Air was released, it was soon discovered that the thermal design of the processor heat sink appeared to be suboptimal. In fact, this discovery was first made when srkirt, a MacRumors forum poster, took the heat sink off his 2019 MacBook Air processor and found that the heat sink does not directly on top of the processor. Instead, there is a sub-millimetre gap that is filled by a dark, thick, gritty thermal paste. This started a series of experiments in improving the thermal performance of the 2020 MacBook Air.

Below are some photos of the innards of the MacBook Air. The heat sink looks somewhat like corrugated cardboard but in metal form. The foam pad that is stuck to the inside of the bottom case seems to be there to press against the heat sink so that all the air is forced to go through the heat sink.


Note: bottom case screws are Pentalobe 5 (P5).

Wind Channel Modification

My first modification was to see if thermal performance could be improved by focussing the air to pass over the heat sink. By sealing the area between the fan and heat sink, the hope was that this will force the fan to draw all its air from behind the heat sink, thus maximising airflow through the heat sink for hopefully higher cooling effect.

For a lack of appropriate materials, I cut strips of corrugated cardboard and lined them against the metal separators that are next to the batteries (indicated by red boxes below). I found that performance was worse when the cardboard strips were taller than the metal separators, compared to them being the same height. I think this was because the cardboard would push bottom case out and create gaps in the wind channel. Corrugated cardboard turned out to be quite good because it has the thickness to hold itself in place and can easily be made narrower when needed.


Results

I used Intel Power Gadget (v3.7.0) to monitor the temperature and CPU/GPU frequencies, and used its built-in tests to load the CPU (All Thread Frequency) and GPU (Maximum Frequency). I let each test run until the frequency stabilised, and then maxed out the fans to test the full wind channel effect. I then let the frequency stabilise again (usually goes up). My MacBook Air was fully charged and plugged in, and the screen was set to maximum brightness and always on.

I ran the tests before and after the mod, and back-to-back to minimise differences in ambient temperature. What I saw was that the wind channel mod had a very slight effect on CPU (+70 MHz at best) and GPU (+30 MHz) performance. I forgot to take a screenshot of the original GPU performance. The temperatures around the case appear to be normal, so the wind channel modification doesn't seem to have an adverse effect on other components.

The question now is whether this slightly improved wind channel in combination with a heat sink modification translates to higher performance.